DIY Board and Batten Wall
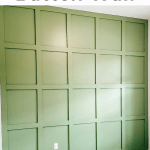
Today I am sharing all the deets on our new DIY Board and Batten Wall! My handy husband, Ethan, gets ALL the credit for making this vision come to life. But hey — I helped supervise, handed him tools and I did get to shoot the nail gun a couple times. ; )
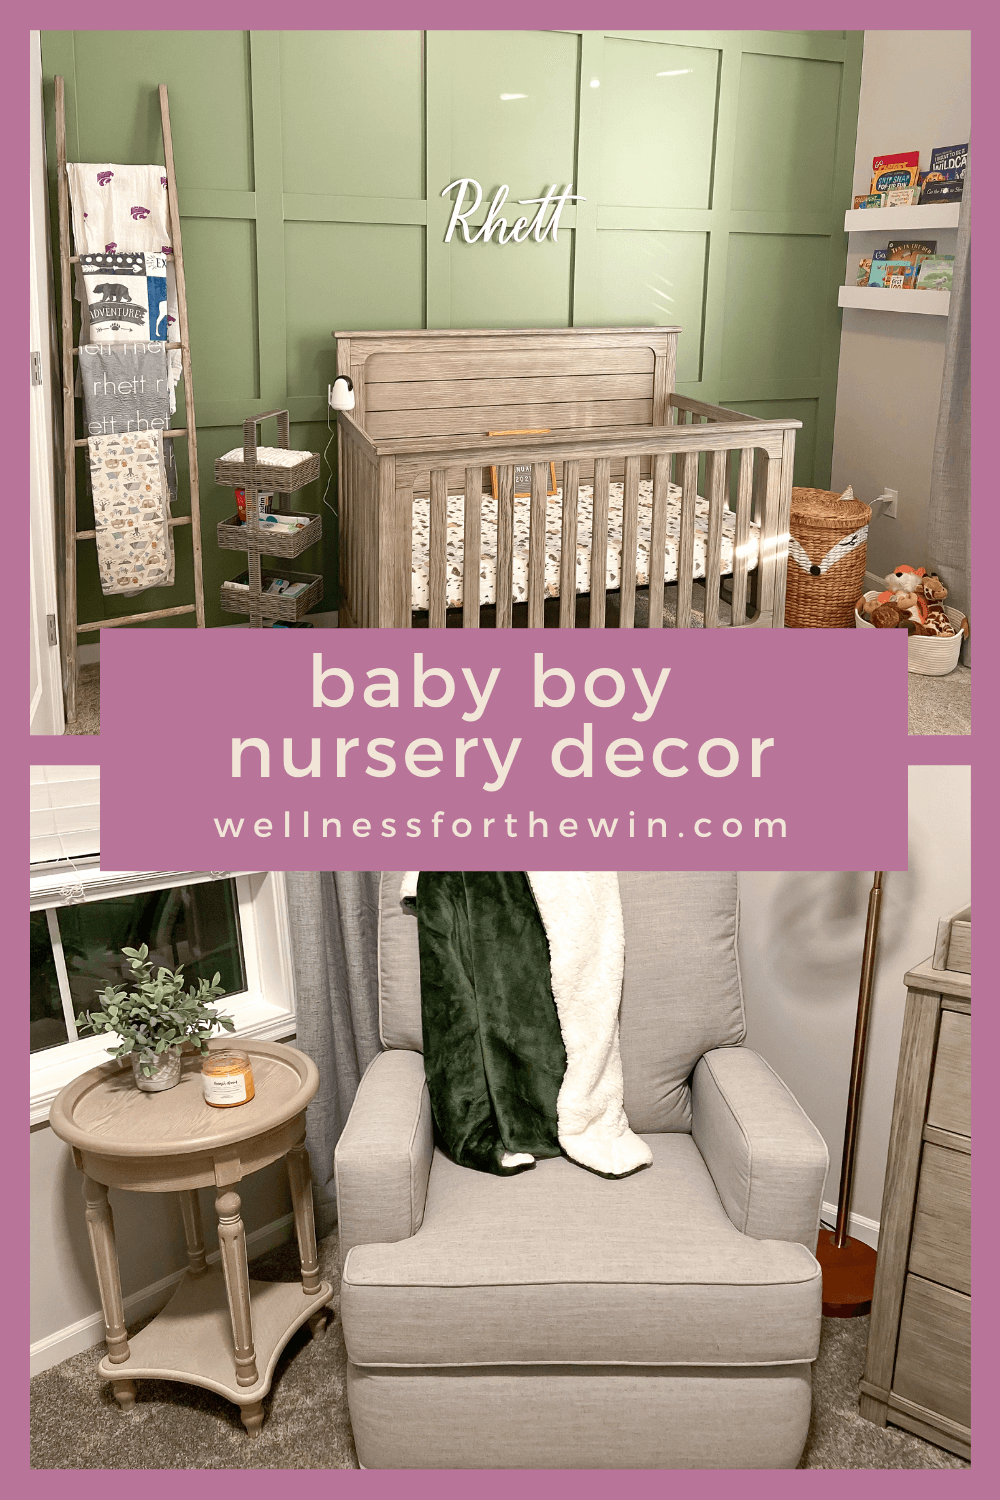
We did this as a statement wall in the nursery for our baby boy arriving in January 2021!
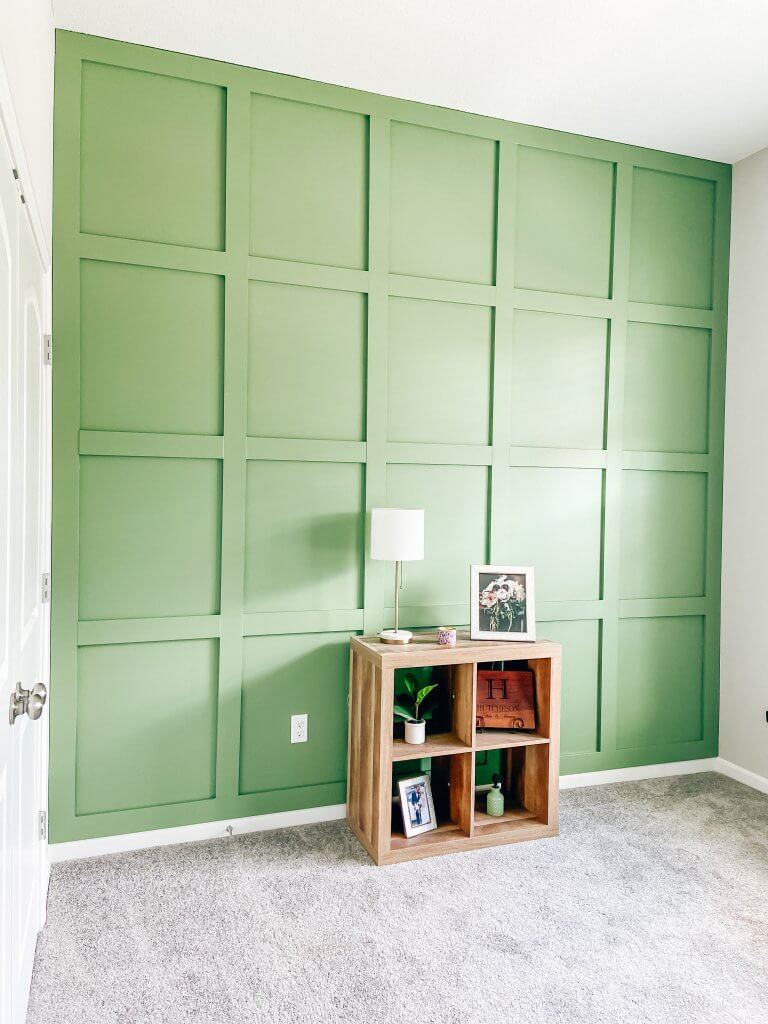
Now there are TONS of Board and Batten tutorials out there on Pinterest, YouTube, IG, etc., so just know there are a lot of places to find this information. I will just share the basics of what we did, tools we used, paint color, etc. You might want to head elsewhere for videos of the process if you are more of a visual learner! But I did take lots of photos as we went.
Alright, let’s get to it!
tools you need for a DIY board and batten wall
Here are the tools that we used for our Board and Batten Wall. Pretty much everything Ethan has is the Ryobi Tools brand from Home Depot. I’ve included direct links for most of them below.
- Boards: pre-primed pine boards – size 1″ x 4″ (technically 3.5″ wide)
- Ladder
- 10″ Miter Saw
- Brad Nailer (nail gun)
- Level
- Quick square
- Construction Adhesive (basically, glue – be sure NOT to get this on your carpet… it doesn’t come out. Lay some blankets down for this whole project!) / Caulk Gun
- Measuring tape
- Wood filler to fill nail holes / caulk if needed
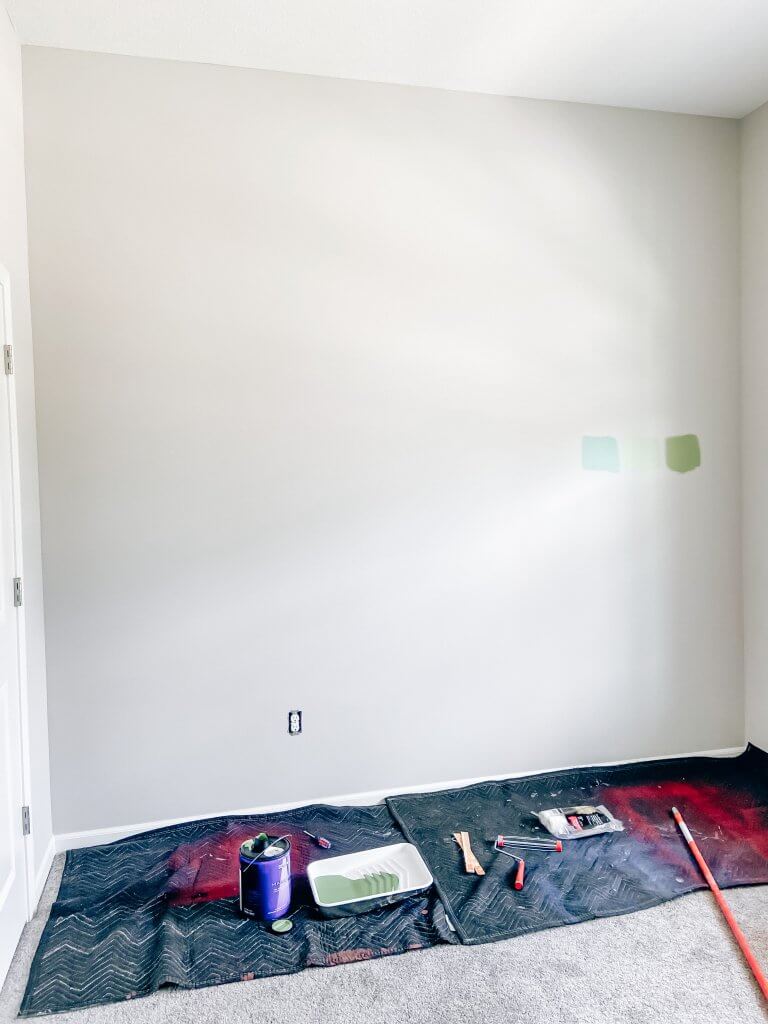
- Whatever paint color you want – we used this one and love it (used two coats)
- Paint roller/brushes
- Sanding block
steps to build a DIY Board and batten wall
I consulted with Ethan about these steps because again, he did 99% of the work on this project. Here is the order of events and some of his tips along the way.
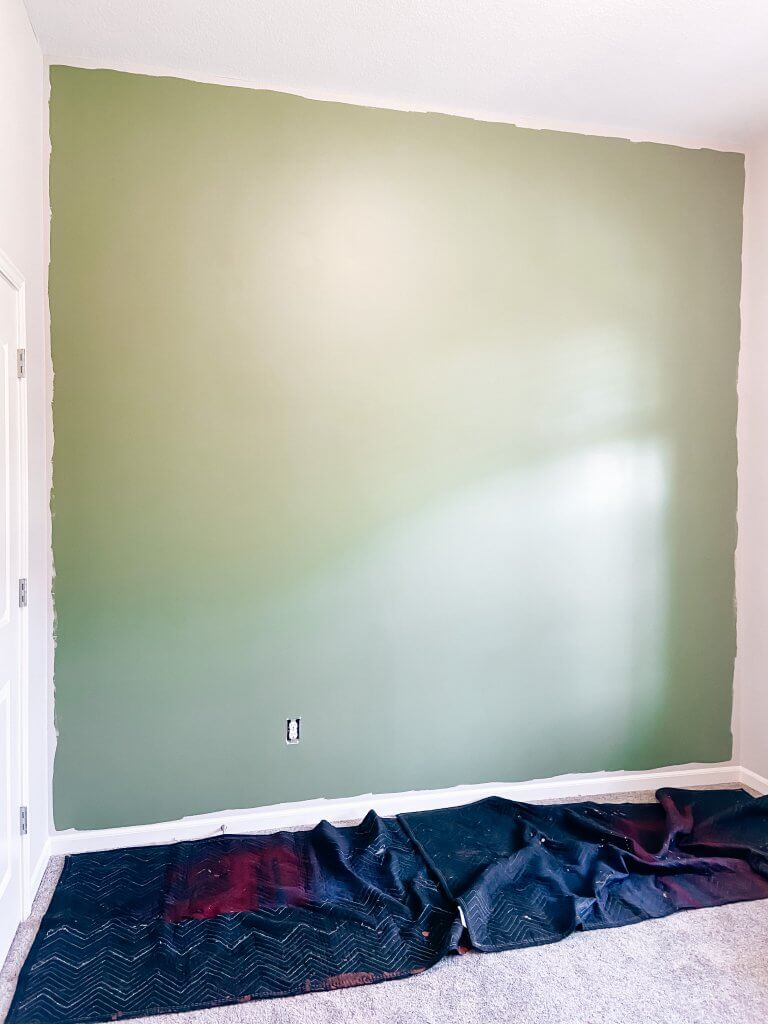
First, paint your wall if you are painting it a different color than it currently is, and are planning to paint the boards the same color.
Step 1: Measure, Measure and Measure Some More.
Seriously, there is a LOT of measuring to do for this project to make sure everything is spaced evenly and looks uniform. You don’t want to have uneven lines or spaces. MEASURE CAREFULLY, double and triple-check.
Step 2: Do the outside border first.
This is just the obvious place to start and provides the foundation for the rest of the project! Plus, it’s the easiest! Haha.
Step 3: Place vertical boards.
We put the boards up against the wall and measured between the spaces (again) prior to applying any glue or putting any nails in the wall. See picture here. It was definitely a two person job to hold things in place and make sure everything was where it needed to be.
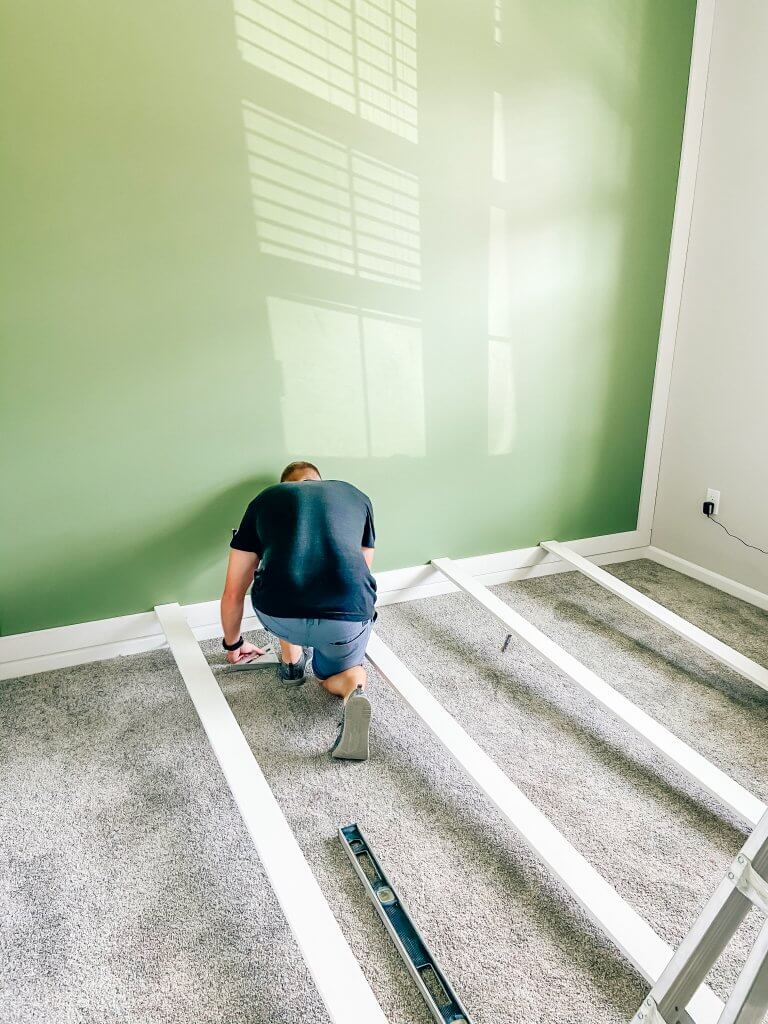
You can use a pencil on each side to mark where the board needs to go, then apply adhesive / glue to the back of the board, apply to the wall, hold it tight.
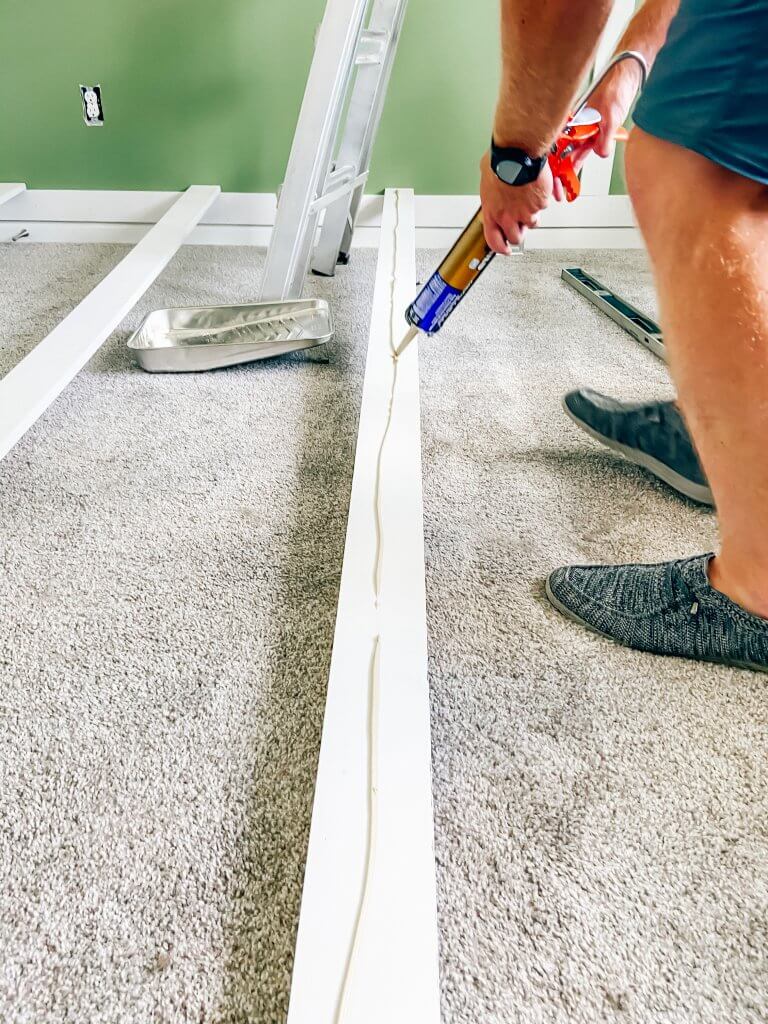
Use the level & quick square to ensure boards are straight, then use nail gun to secure to the wall.
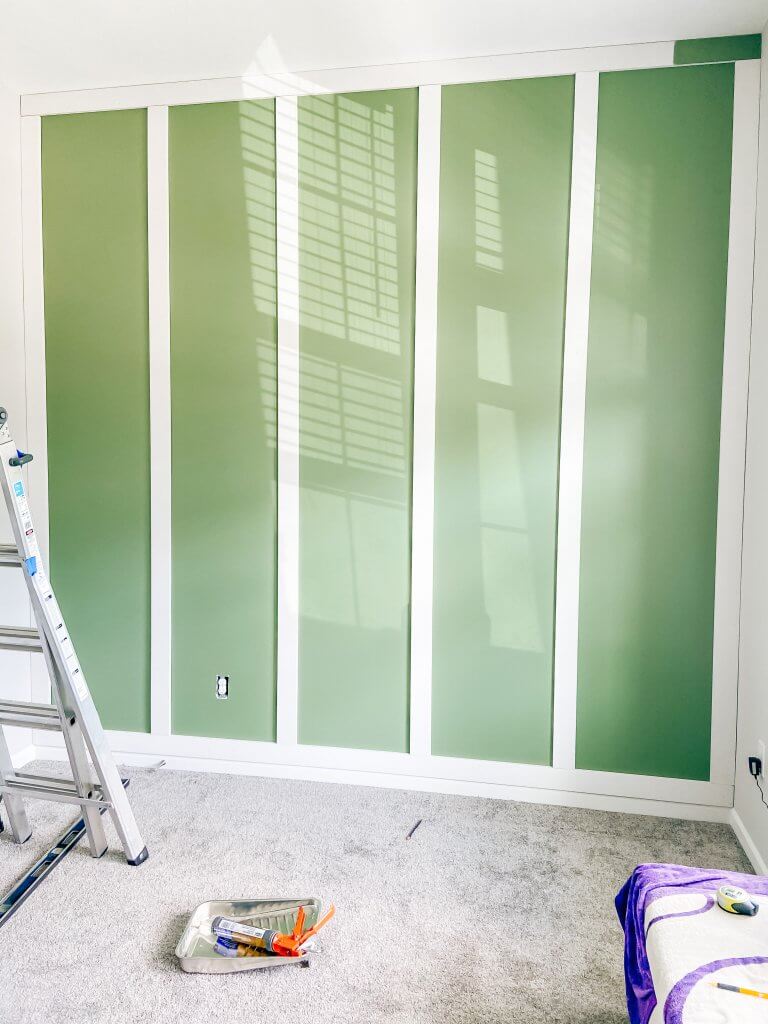
Step 4: Place horizontal boards.
Follow the same process as above, but you will have to use the saw to cut the boards into smaller pieces to fit in between the vertical boards. Again, measure, measure, measure! You don’t want there to be gaps between the boards, so these shorter ones need to be very exact.
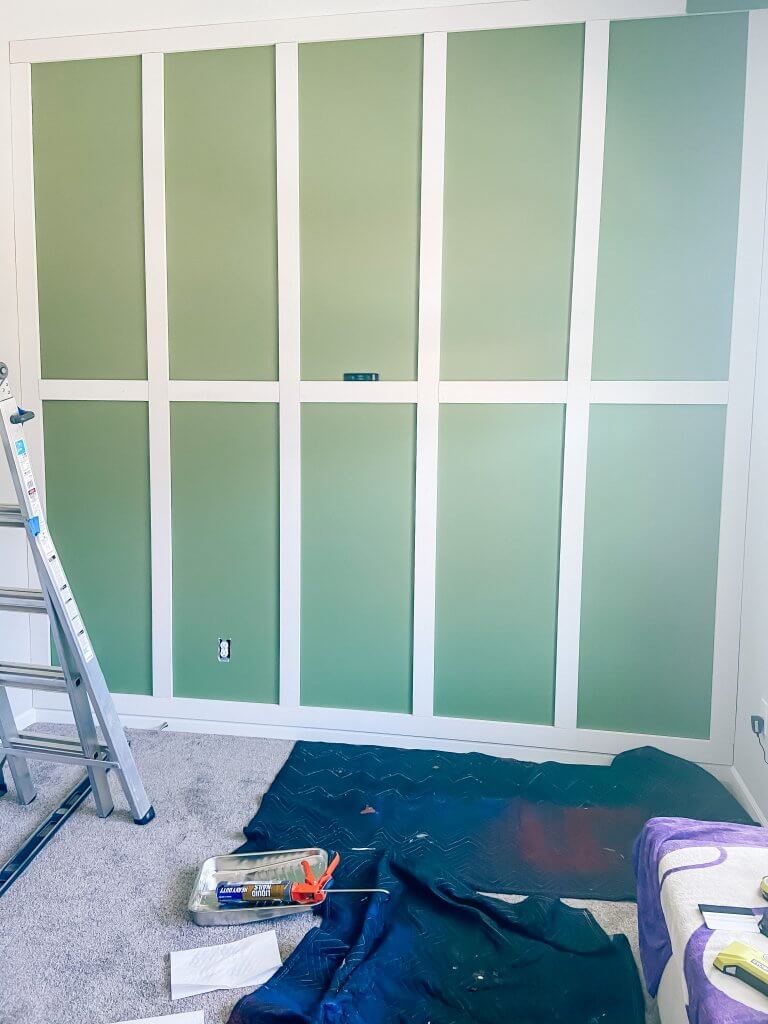
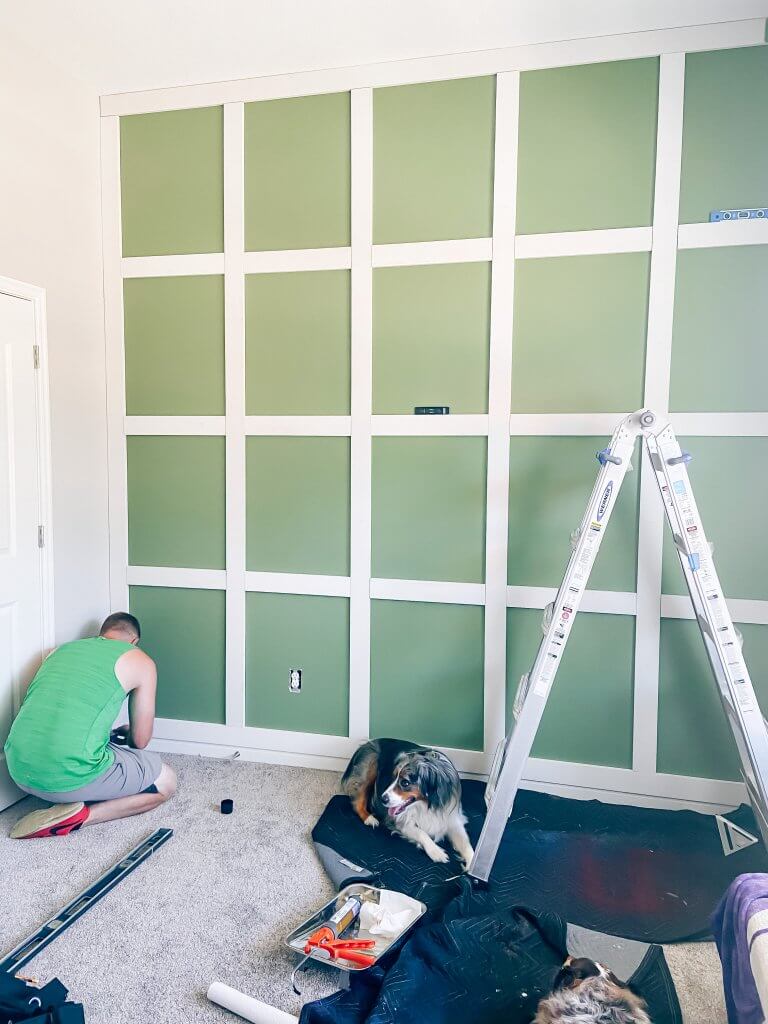
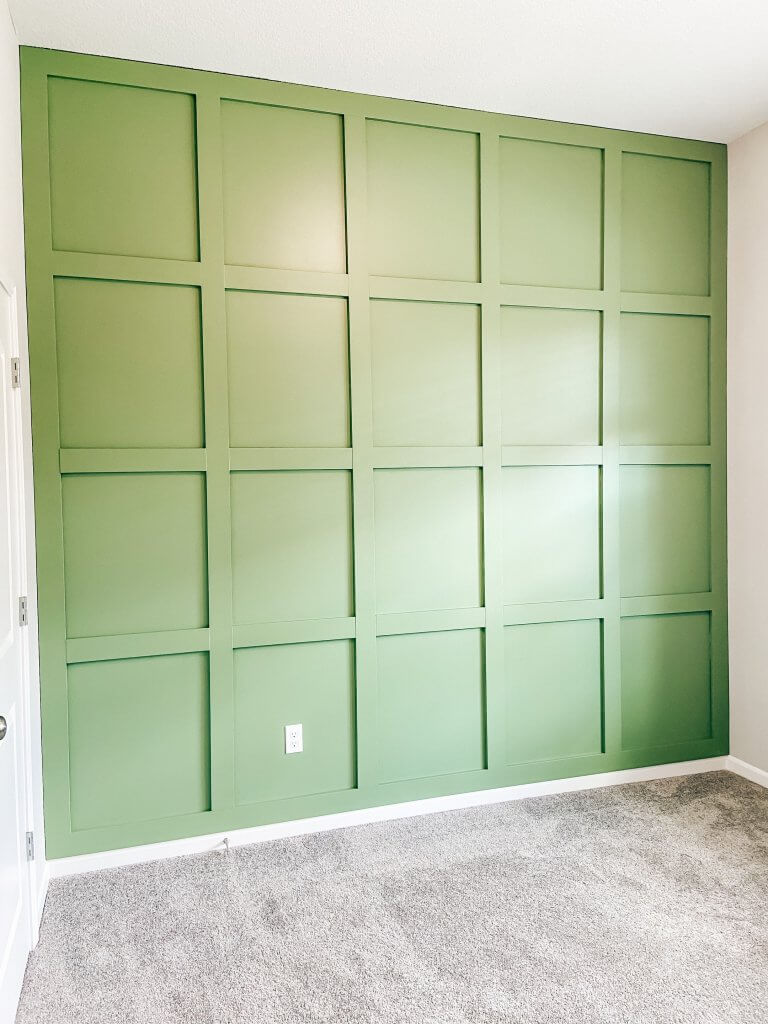
It is up to you how many boards you want to place vertically and horizontally. We decided to do 4 vertical and 3 horizontal and love how it turned out. We also have 10″ ceilings so we had a decent-sized wall to work with.
Step 5: Hide imperfections.
Fill nail holes with the wood filler and/or any necessary spaces with caulk to make it look nice and clean. You will be painting over this anyway so don’t worry about it looking perfect.
Step 6: Sand the boards.
The boards are not perfectly smooth, and there will be some more bumps and ridges after applying the wood filler/caulk, so use a sanding block here to help make everything nice and smooth before you paint.
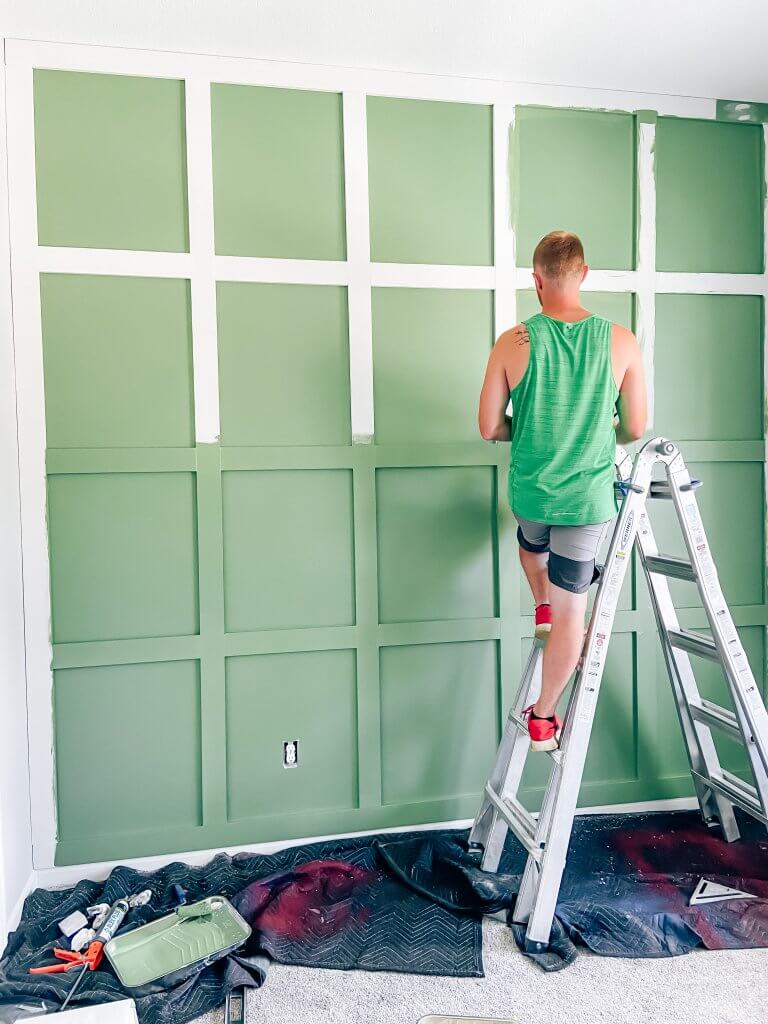
Step 7: Paint with desired paint color.
Again, we painted the whole wall first, and then painted the boards after all of the previous steps. Ethan did two coats for this as well.
Let it dry, touch up any necessary spots, and you’re all done! Now admire your hard work!
paint we used for our diy board and batten wall
We made this a statement wall for our soon-to-be baby boy’s nursery, so we decided to go with a really pretty green color that we both LOVE.
The color we went with is Behr brand from Home Depot. Click here.
Obviously, you can paint yours any color you want! I’ve seen a lot of just white board and batten walls and they look super clean and pretty! The white we have throughout our house for trim is Sherwin Williams Pure White, and the light gray on the other walls is Sherwin Williams Repose Gray, which we love, too.
I hope this helps you feel confident building your own DIY Board and Batten Wall! If you decide to try it out, be sure to tag me so I can see! Please feel free to copy our design and paint color — we are so happy with it! 🙂
Happy DIY-ing!
Shanna
