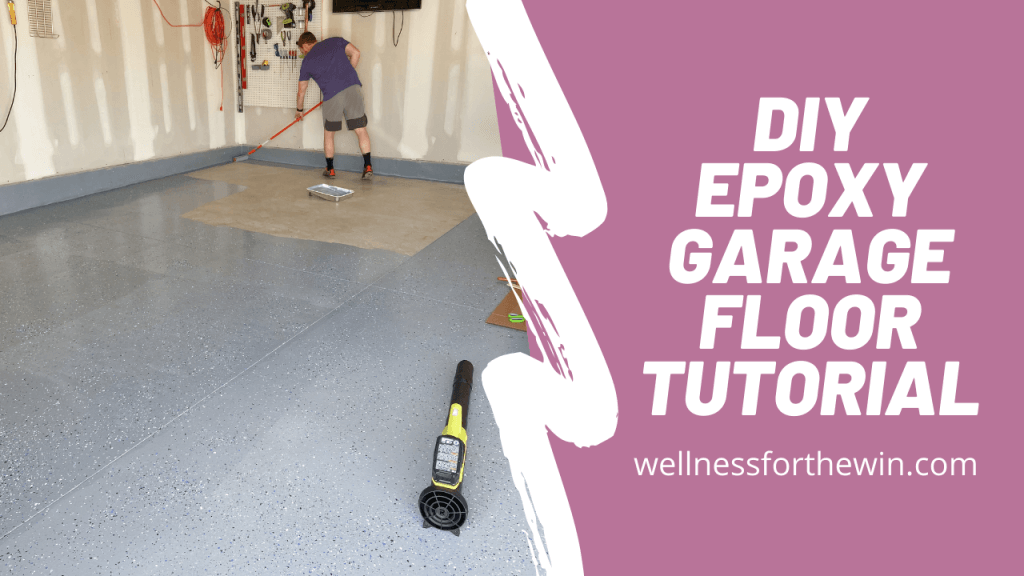
DIY Epoxy Garage Floor Tutorial
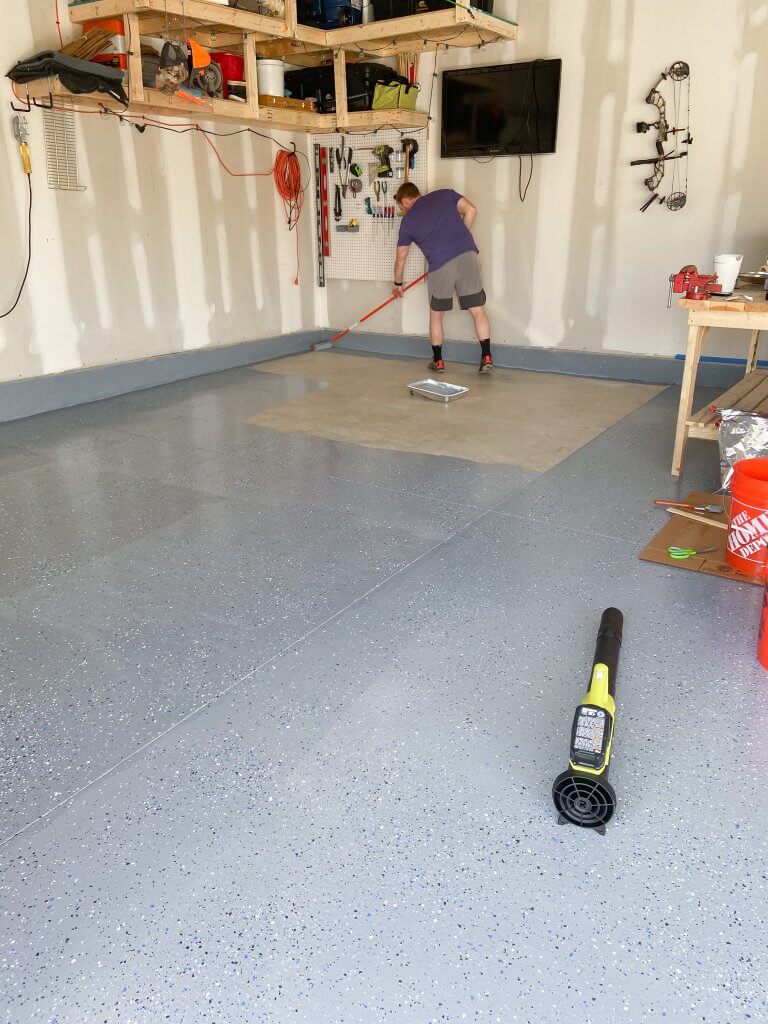
If you follow me on Instagram, you know that my handy husband Ethan is the king of home projects. He can’t sit still for long without a project to do, so in the year we have been in our new house he has built a bar, a big workbench, a privacy wall for our new patio, various shelves, and more. In this post I’m providing a little DIY Epoxy Garage Floor Tutorial, as this was one of the first projects he did, and I get questions on it all the time!
If you are looking to do this project sometime this summer, I hope you find these tips helpful! It was a very easy and affordable project, and makes our garage (and his man cave) look so much nicer!
CLICK HERE to watch the video tutorial on YouTube.
which kit did you use to epoxy your garage floor?
We have a 3 car garage and Ethan used one 2.5 car garage kit + one 1 car garage kit.
CLICK HERE for the kit Ethan used.
how do you epoxy a garage floor?
Ethan said the instructions on the kit are VERY easy and straightforward and if you follow them exactly, you’ll be all set! So I’m not going to type them all up here. 🙂 But I am sharing some videos of the process that you might find helpful.
how much does it cost to epoxy a garage?
The 2.5 car garage kit is $125. The 1 car garage kit is $75. So for those items it cost around $200 total for us. It may be less for you if you have a one or two car garage. The other materials you need are pretty inexpensive, so overall, it is a very affordable project.
To get your garage floor done professionally, it can cost several thousands of dollars, depending on the size of your garage and the type of coating you get. So DIY is the way to go if you want to save a significant amount of money!
tools needed to DIY epoxy garage floor
All you need is the epoxy kit as well as some things that will help you with cleaning/prep:
- Epoxy garage kit(s) – linked again here
- 5-piece pro roller tray set – includes paint tray, paint brush, nap roller and roller frame
- Extension pole
- Floor Squeegee
- Soft Grip Block Wire Brush
- 5 Gallon Bucket
- 2 Gallon Watering Can
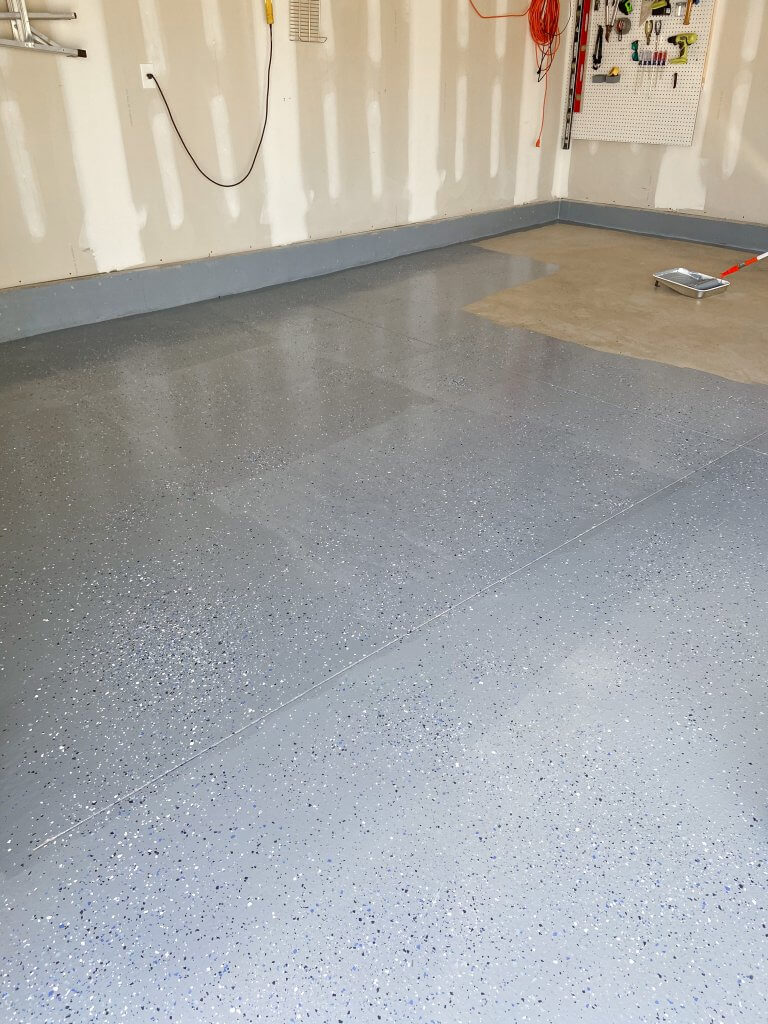
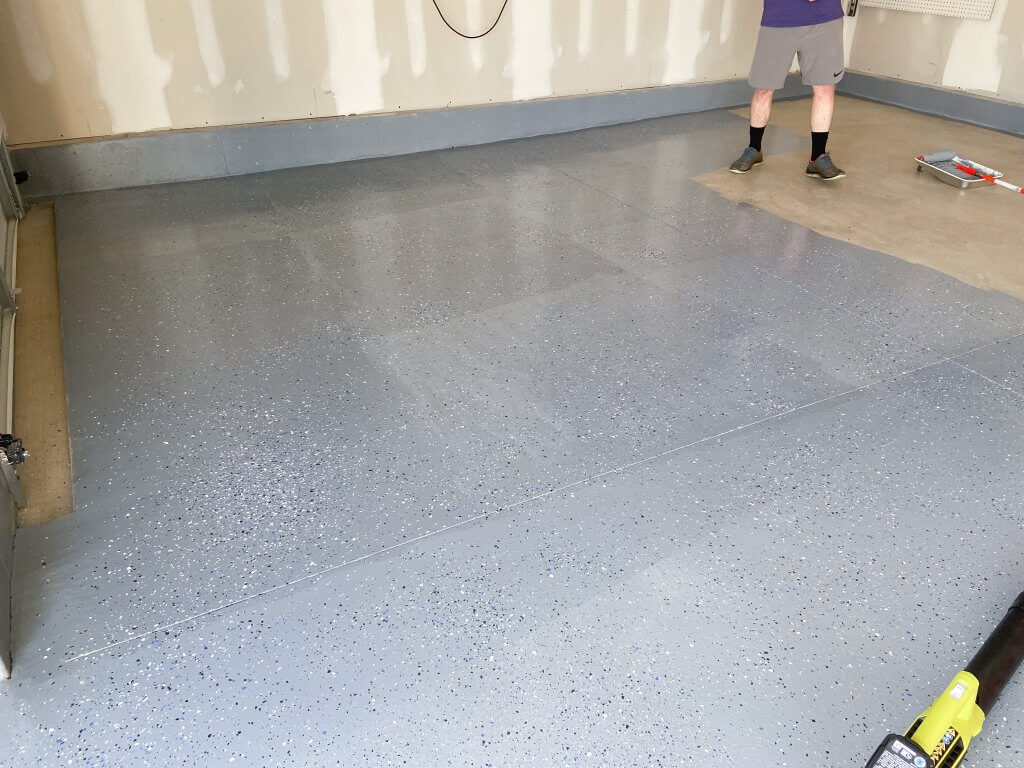
how long does it take to epoxy garage floors yourself?
This is definitely a weekend-long project. Ethan said one of the most time consuming parts is cleaning out your garage and prepping for it. You do have to clean the floors very well prior to applying the epoxy. In addition, he said you have to wait about 12 hours or so after prepping the floors to apply the epoxy.
Sample Schedule:
- Friday night: clean out garage
- Saturday: finish cleaning out garage / clean and prep garage floors; wait 12 hours or so
- Sunday: first thing in the morning, apply the epoxy using the kit. Let it dry completely before putting stuff back in the garage.

how long does epoxy garage floor last?
This is going to depend on how much traffic is going in and out of your garage and how well you maintain it, but it can last anywhere from 2-3 years. At this point, we have had ours done for 12-14 months and it is still in pretty good shape. It is inevitable for some wear and tear to show after a while, especially from car tires + water/snow, etc. It would be pretty easy to touch up a bunch of spots at once when it gets bad enough to need some fixing up!
tips to DIY epoxy garage floor
- It is not recommended to apply the epoxy when it is cold outside, because it doesn’t dry as well. Ethan said it’s best to do it in the spring or fall when there are more mild temperatures, but if you did it in the summer you’d probably be okay. Maybe aim for a cooler day or morning!
- Like I said before, follow the instructions on the kit EXACTLY and you will be great! Ethan said they are very easy to follow, and it’s “not rocket science”, LOL.
I hope this DIY Epoxy Garage Floor Tutorial was helpful for you! If you or someone you know is doing this project, tag me on IG @wellnessforthewin so I can see! Let me know if you have any questions or I missed anything!
Thanks for reading!
Shanna


Thanks for the DIY instructions. I am planning on doing mine in a month or so. I will let you know how it goes.
Absolutely! Good luck!!